Overview
If you’re following the Implementation Outline: after configuring your database, connecting your PowerSync instance to it, and defining basic Sync Rules, the next step is to include the appropriate PowerSync Client SDK package in your app project. On a high level, this involves the following steps:- Install the Client SDK (see below)
-
Define your Client-Side Schema
- The PowerSync Client SDKs expose a managed SQLite database that your app can read from and write to. The client-side schema refers to the schema for that SQLite database.
-
Instantiate the PowerSync Database
- This instantiates the aforemention managed SQLite database.
-
Integrate with your Backend [Optional]
- This allows write operations on the client-side SQLite database to be uploaded to your backend and applied to your backend database.
- Integrating with your backend is also part of authentication integration. For initial development and testing, you can use Development Tokens, and then implement proper authentication integration at a later time.
Installing the Client SDK
PowerSync offers a variety of client SDKs. Please see the steps based on your app language and framework:Dart/Flutter
Dart/Flutter
Add the PowerSync pub.dev package to your project:See the full SDK reference for further details and getting started instructions:
Dart/Flutter
React Native & Expo
React Native & Expo
Add the PowerSync React Native NPM package to your project:See the full SDK reference for further details and getting started instructions:
- npm
- yarn
- pnpm
Install peer dependencies
PowerSync requires a SQLite database adapter.Choose between:- OP-SQLite (Recommended)
- React Native Quick SQLite
PowerSync OP-SQLite offers:
- Built-in encryption support via SQLCipher
- Smoother transition to React Native’s New Architecture
- npm
- yarn
- pnpm
Polyfills and additional notes:
- For async iterator support with watched queries, additional polyfills are required. See the Babel plugins section in the README.
-
By default, this SDK connects to a PowerSync instance via WebSocket (from
@powersync/react-native@1.11.0) or HTTP streaming (before@powersync/react-native@1.11.0). See Developer Notes for more details on connection methods and platform-specific requirements. - When using the OP-SQLite package, we recommend adding this metro config to avoid build issues.
React Native & Expo
JavaScript Web
JavaScript Web
Add the PowerSync Web NPM package to your project:Required peer dependenciesThis SDK currently requires See the full SDK reference for further details and getting started instructions:
- npm
- yarn
- pnpm
@journeyapps/wa-sqlite as a peer dependency. Install it in your app with:- npm
- yarn
- pnpm
By default, this SDK connects to a PowerSync instance via WebSocket (from
@powersync/web@1.6.0) or HTTP streaming (before @powersync/web@1.6.0). See Developer Notes for more details on connection methods.JavaScript Web
Capacitor (alpha)
Capacitor (alpha)
Install Package
Add the PowerSync Capacitor NPM package to your project:- npm
- yarn
- pnpm
This package uses
@powersync/web as a peer dependency. For additional @powersync/web configuration and instructions see the Web SDK README.Install Peer Dependencies
You must also install the following peer dependencies:- npm
- yarn
- pnpm
Sync Capacitor Plugins
After installing, sync your Capacitor project:Capacitor (alpha)
Node.js (beta)
Node.js (beta)
Add the PowerSync Node NPM package to your project:Peer dependenciesThe PowerSync SDK for Node.js supports multiple drivers. More details are available under encryption and custom drivers,
we currently recommend the Common installation issuesThe
- npm
- yarn
- pnpm
better-sqlite3 package for most users:- npm
- yarn
- pnpm
better-sqlite package requires native compilation, which depends on certain system tools.
Prebuilt assets are available and used by default, but a custom compilation may be started depending on the Node.js
or Electron version used.
This compilation process is handled by node-gyp and may fail if required dependencies are missing or misconfigured.Refer to the PowerSync Node package README for more details.See the full SDK reference for further details and getting started instructions:Node.js (client)
Kotlin
Kotlin
Add the PowerSync SDK to your project by adding the following to your See the full SDK reference for further details and getting started instructions:
build.gradle.kts file:CocoaPods configuration (recommended for iOS)Add the following to the The
cocoapods config in your build.gradle.kts:linkOnly = true attribute and isStatic = true framework setting ensure that the powersync-sqlite-core binaries are statically linked.Kotlin
Swift
Swift
You can add the PowerSync Swift package to your project using either See the full SDK reference for further details and getting started instructions:
Package.swift or Xcode:- Package.swift
- Xcode
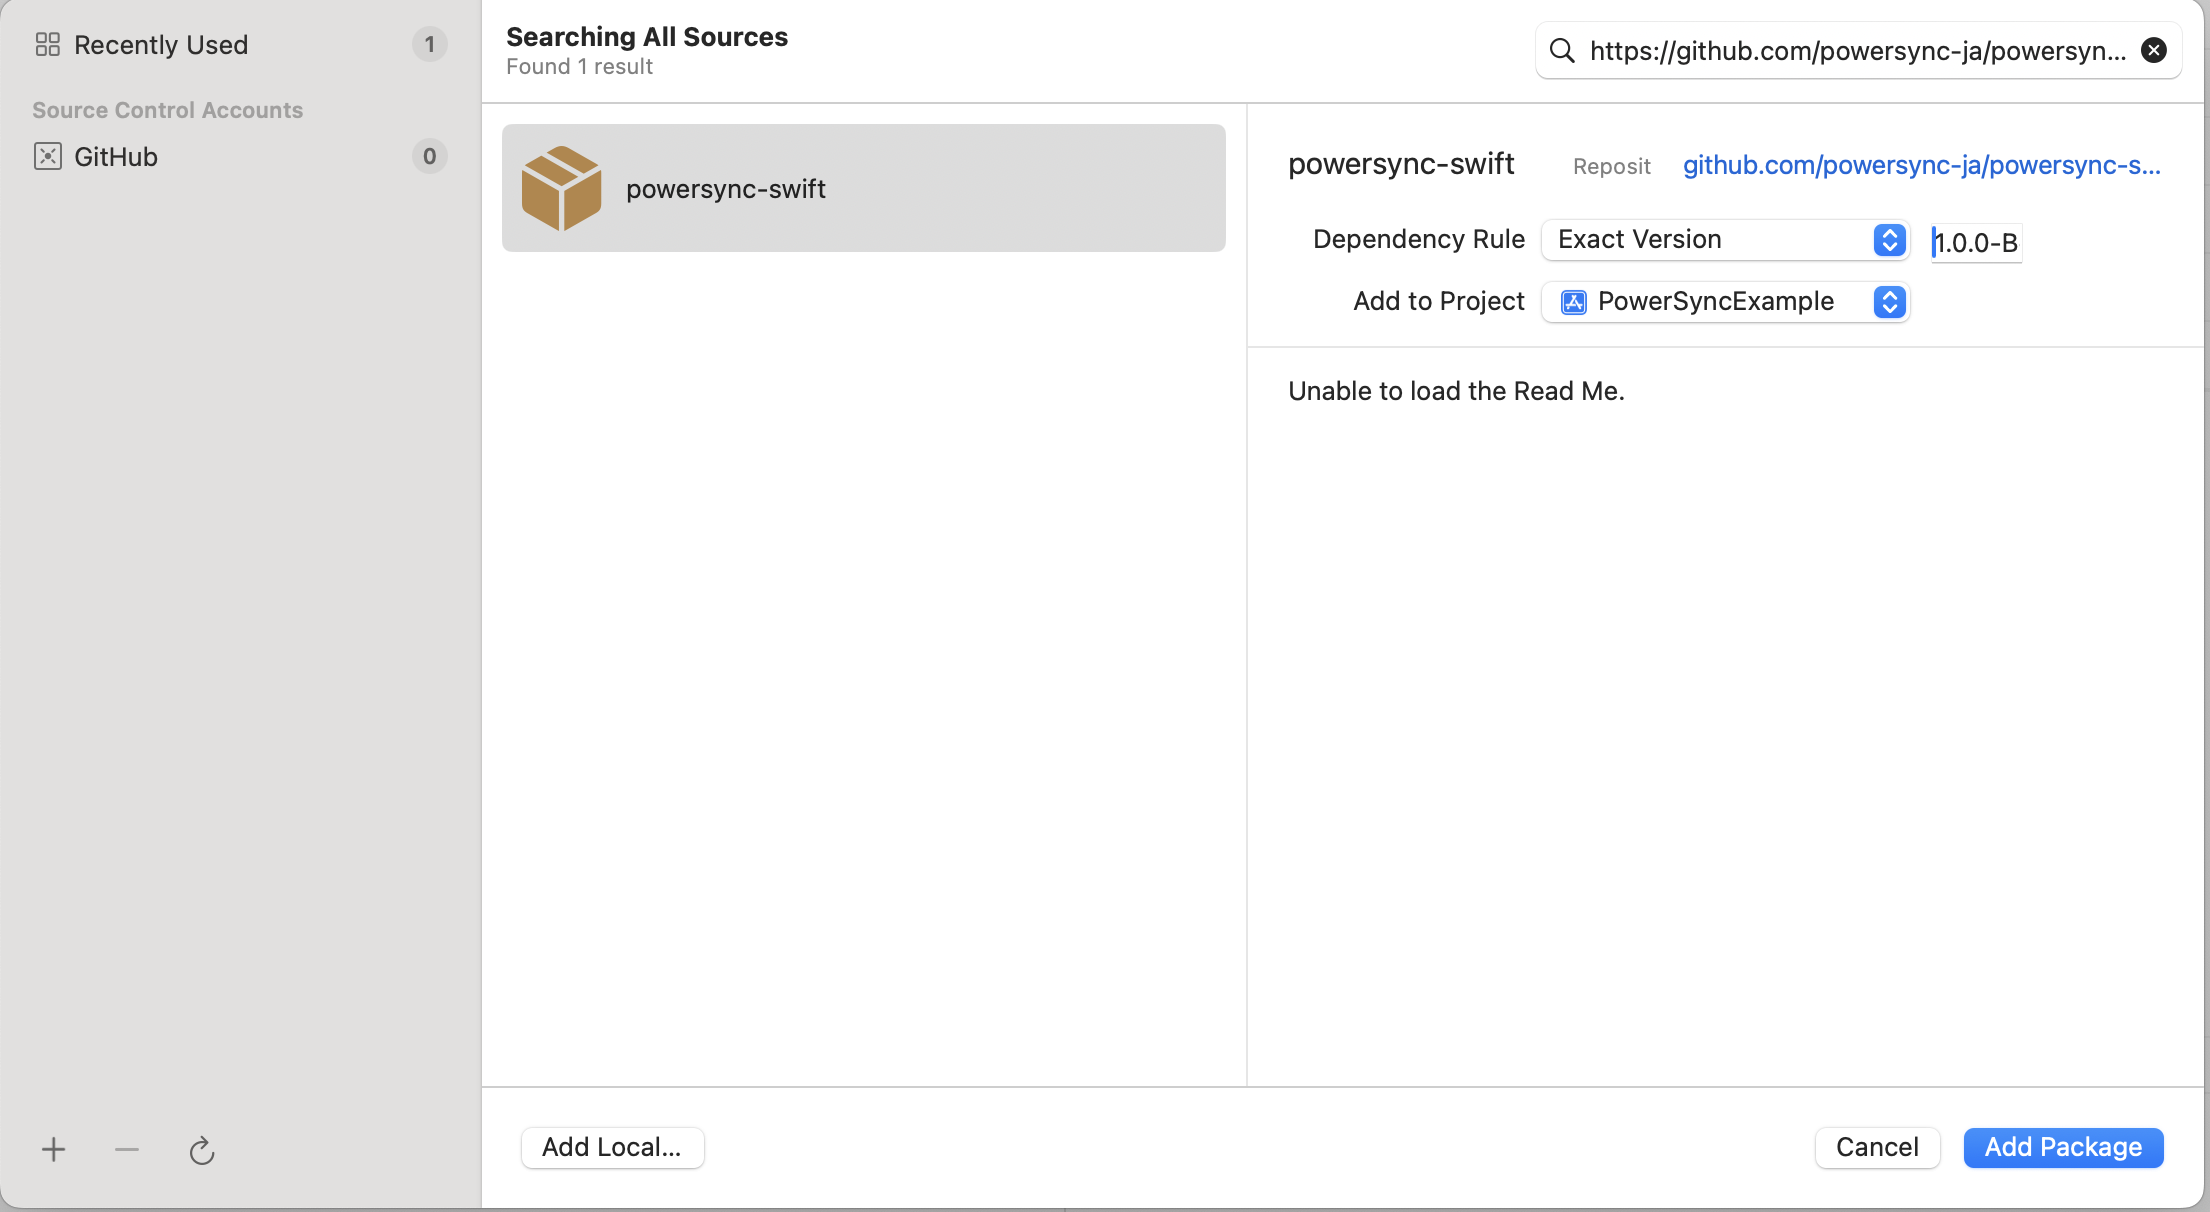
Swift
.NET (alpha)
.NET (alpha)
- Common
- MAUI
For desktop/server/binary use-cases and WPF, add the
PowerSync.Common NuGet package to your project:Add
--prerelease while this package is in alpha.